Shared configurations give bulk editing capabilities across the Onosys admin.
Shared configurations are our answer to one of the biggest requests for the new admin portal: Bulk editing across restaurants. Shared configurations allow for several restaurant settings to be created once and then applied via dropdown across any number of restaurants. Need to make a change to the configuration? The settings can be edited once and saved, applying to all restaurants.
Settings
Creating a shared configuration takes place under the Settings section of the admin. Under settings, the following sections utilize shared configurations and are where they are built, edited and maintained: Hours of Operation, Lead Times, Taxes, Fees. After the configuration is built, it can be applied to the related restaurants. 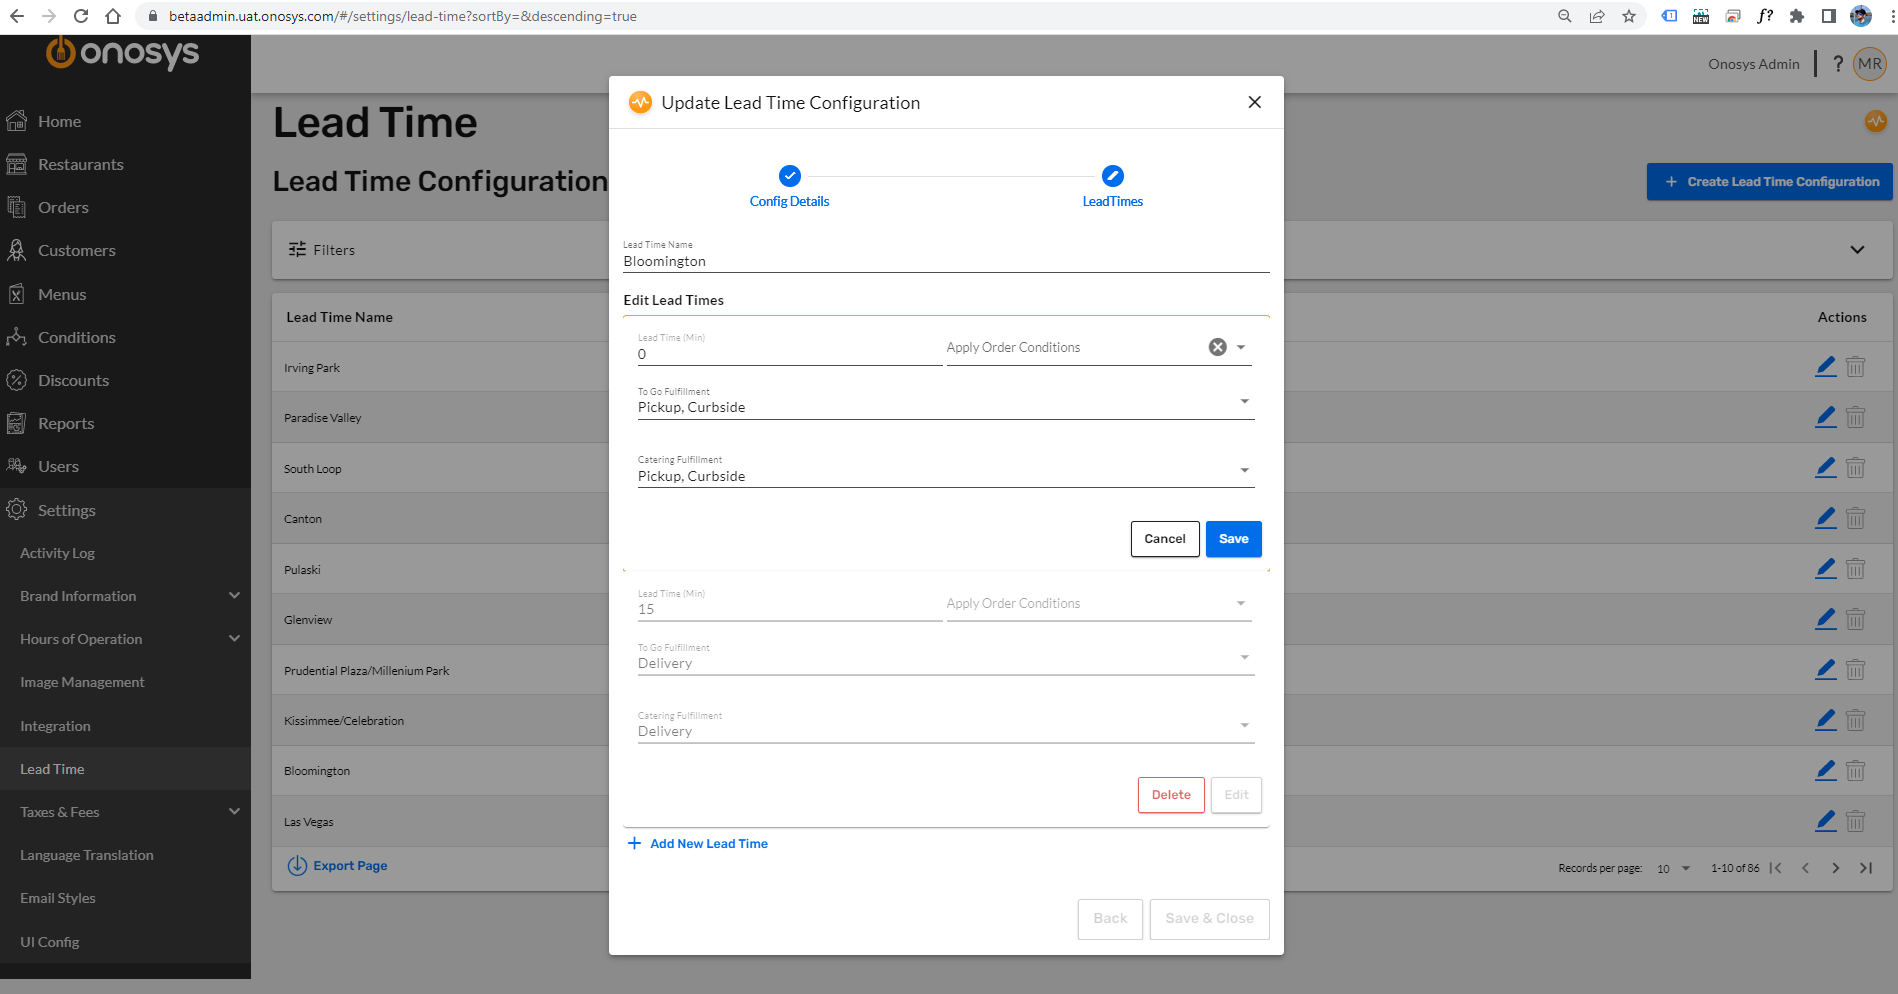
Settings -> Lead Times Shared Configuration.
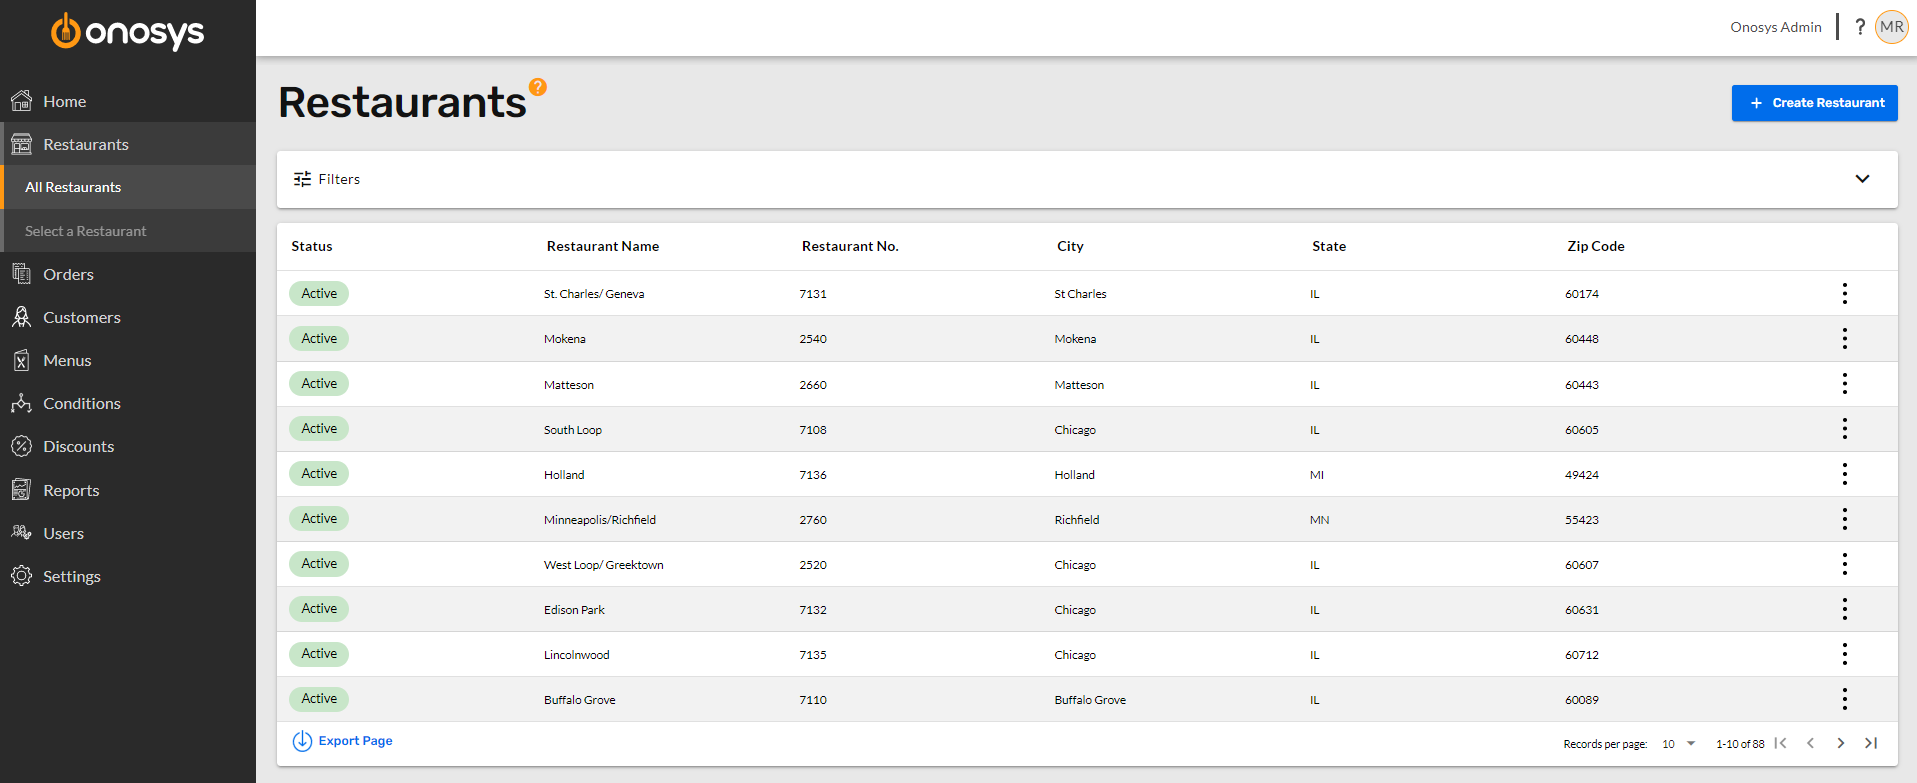
Restaurants
To apply a configuration to a restaurant, the user will go to the Restaurants section. After finding their location, the user will be able to apply the configuration in the following sections: Hours of Operation, Lead Times, Taxes, Fees. These sections present a simple drop down selection to apply the necessary configuration. Click save and the configuration is applied - no other configuration is necessary. 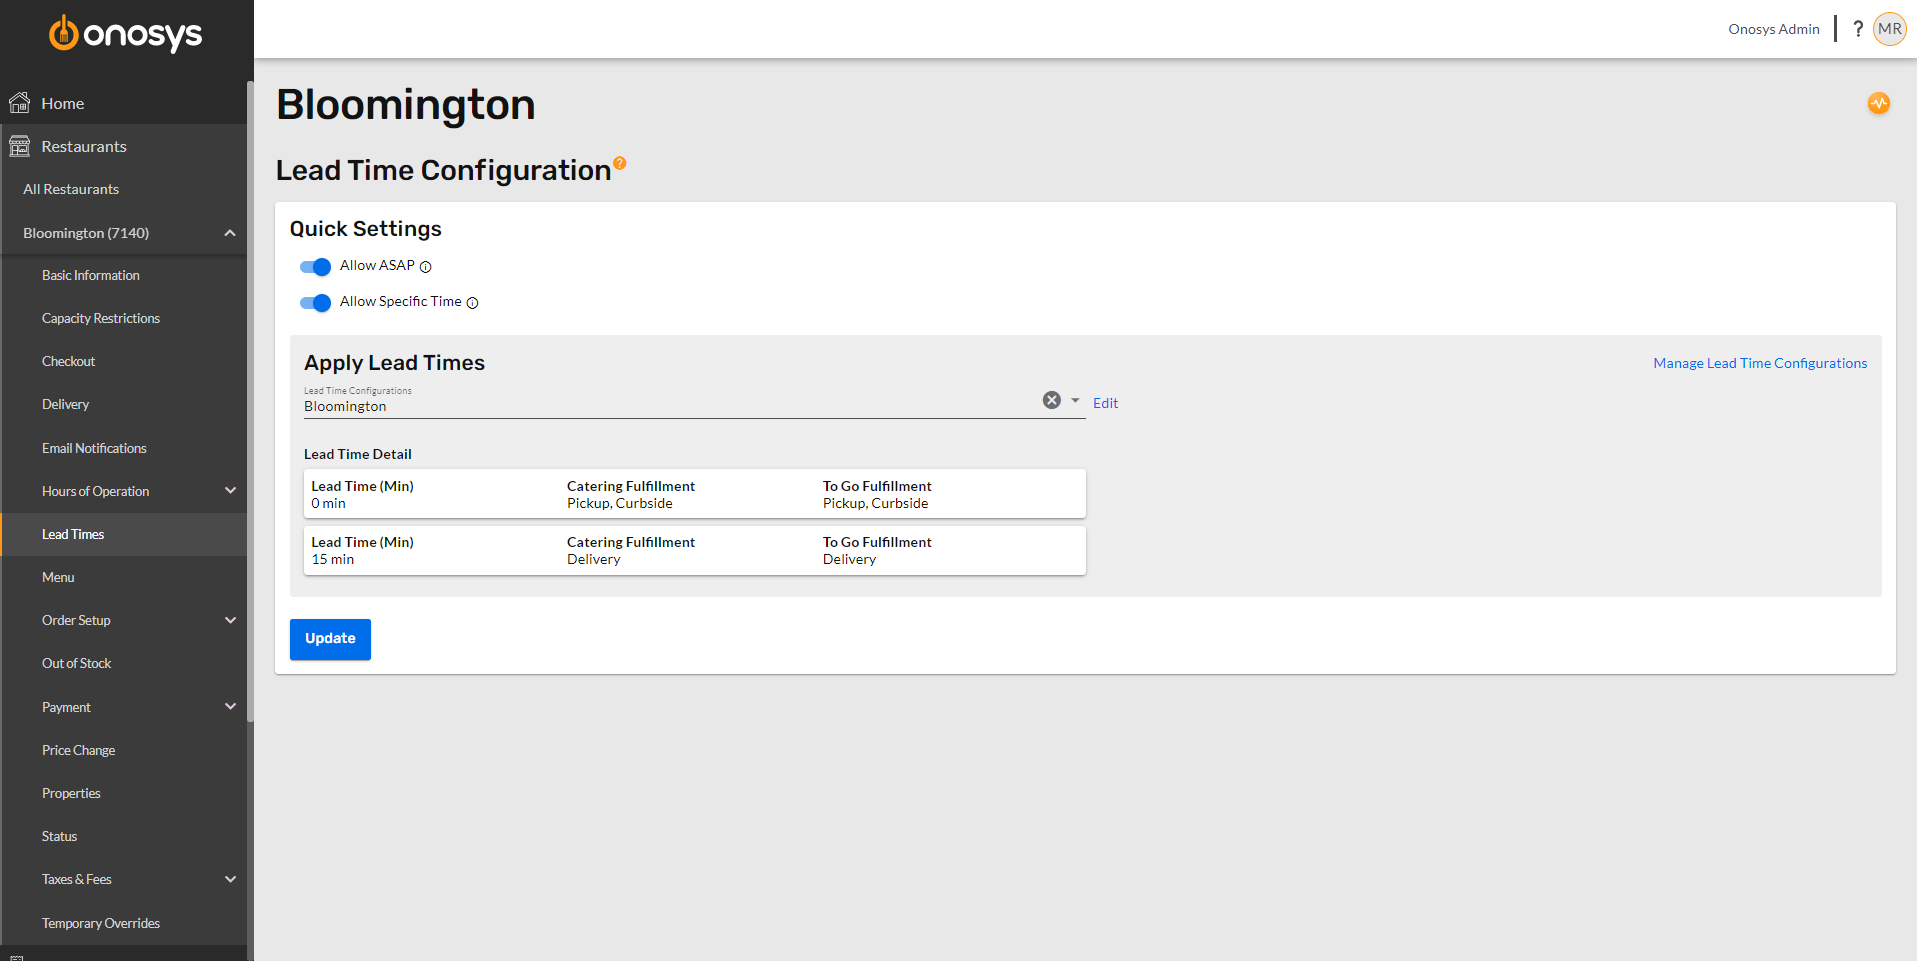
Restaurants -> Lead Times application of lead time shared configuration.
Roles
Roles are a version of shared configuration for admin access levels. In order to create a new admin user, a role has to be applied to a user. If a role exists already, it can be selected via a dropdown menu to give the user access. Need to create a new role? That can be completed under Users -> Roles. To make any changes to a role, an Onosys admin can make that change and it'll automatically apply to all of the users with the role. To read more about Users and Roles, click here. 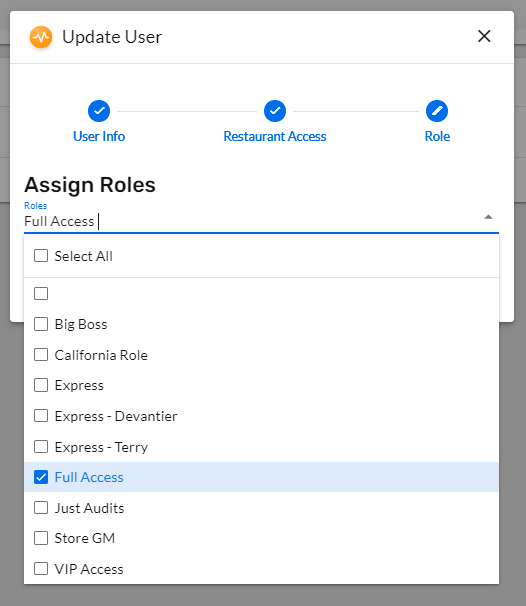
Applying a Role to a User.
Example/Directions
The areas with shared configurations are: Hours of Operation, Lead Times, Taxes, and Fees. To create or edit one of these settings, follow these steps that outline creating a new hours of operation:
- Navigate to "Settings" in the left hand navigation and open the drop down.
- Open the setting you want to update, we'll use "Hours of Operation." for this example.
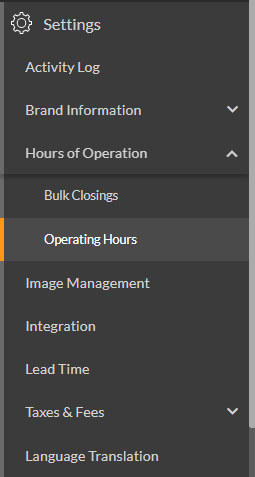
- Open "Operating Hours"
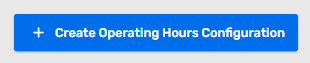
- Click "Create Operating Hours" to create a new one, or select an already created set of operating hours to edit a current one.
- In the dialogue, name the shared configuration. The name is how you will find and apply the operating hours at a restaurant(s). We have named this set "Summer Extended Hours."
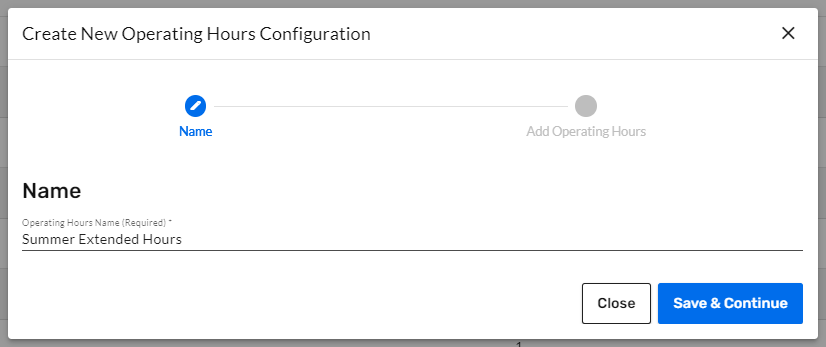
- Click Save & Continue to move to adding Operating Hours.
- Click + Add New Operating Hours

- Fill out the settings for the operating hours.

- Save the settings and click Save & Close to save the configuration
- Open "Restaurants," and select the restaurant(s) to apply the operating hours.
- Open "Hours of Operation" under the restaurant's navigation.
- Open "Operating Hours."
- Open the drop down and select the name of the operating hours you created or edited in step 4.

- Double check the hours are correct by looking over the hours of operation displayed in the section below.
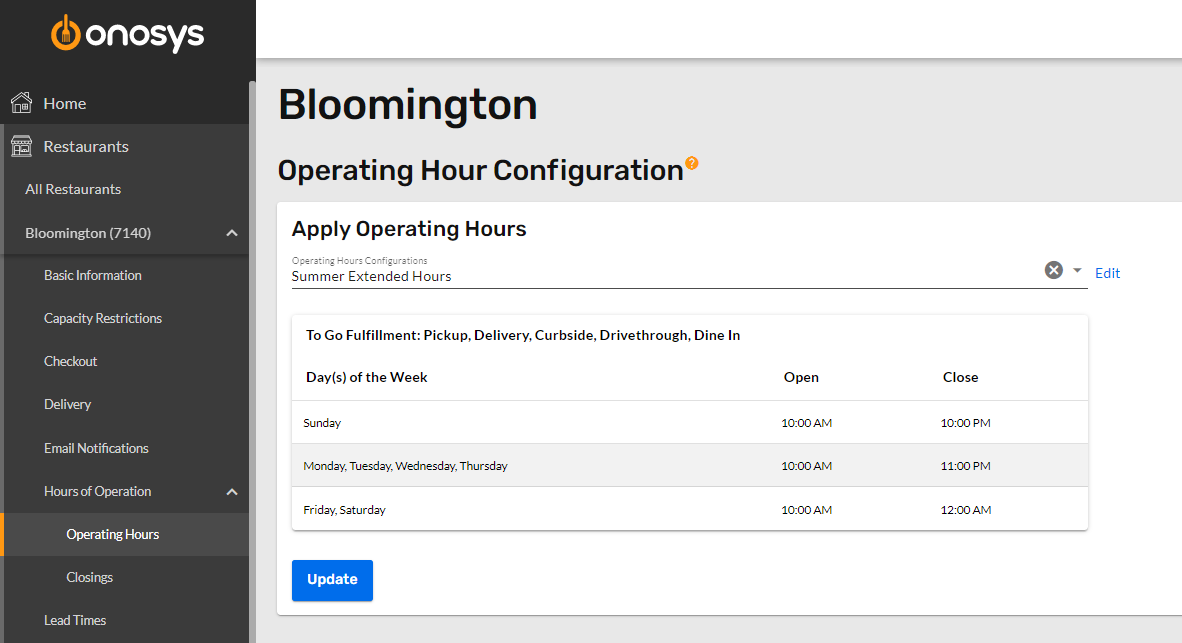
- Click the "Update" button to submit.
The above steps would be followed when creating or editing Hours of Operation, Lead Times, Taxes or Fees. This will allow you to take full advantage of the shared configurations bulk editing capability.