Lead times are the time required to prepare an order and get it to the customer. In the Onosys portal, these are a shared configuration created at the settings level. This means you create it once, and it can be applied across a variety of restaurants. Editing is easy too, and applies to all restaurant locations that have the configuration applied.
To add a lead time configuration, start by navigating to the Settings section in the left hand margin. From here, select the lead times section and click the button on the top right labeled '+ Lead Time.' Follow the stepper and input the data required for your lead time configuration and it will be ready to be applied to any restaurant(s).
- Navigate to ""Settings"" in the left hand navigation and open the drop down.
- Open "Lead Time"
- Click "Create Lead Time Configuration"
- In the stepper, input a name for the shared configuration. Note: The name is how you will find and apply the lead time configuration at a restaurant(s).
- Save and Continue.
- Click "+Add New Lead Time"
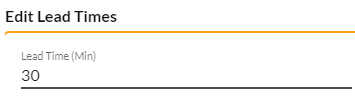
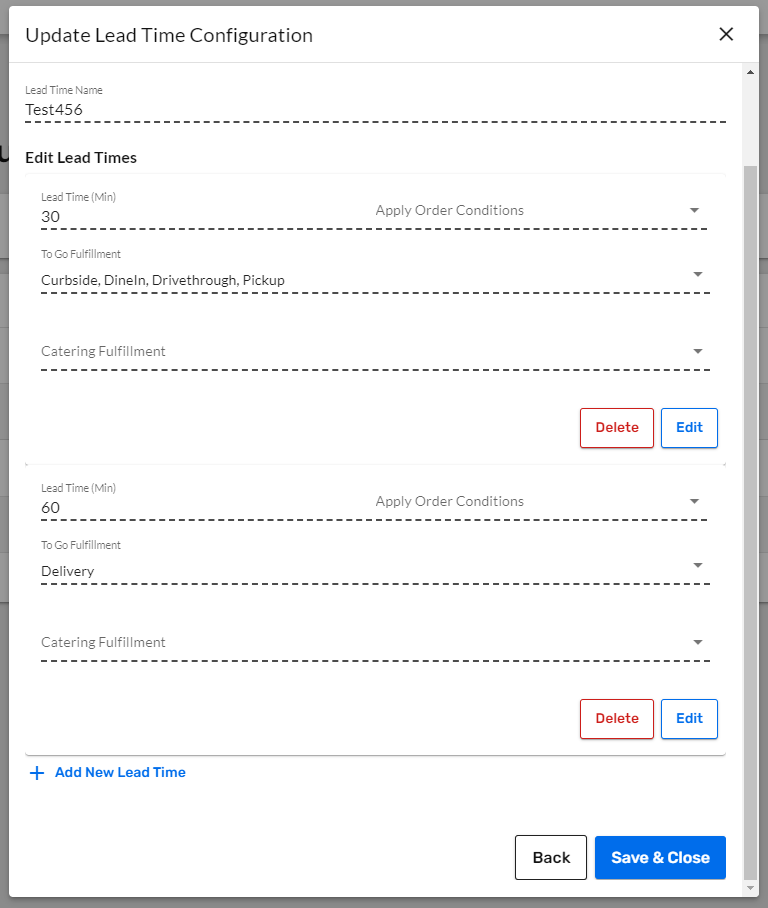
- In the table, there are several items/configurations to complete:
- Lead Time (mins) and enter the minutes required for lead time. Example: 1 Hour lead time is 60 minutes.
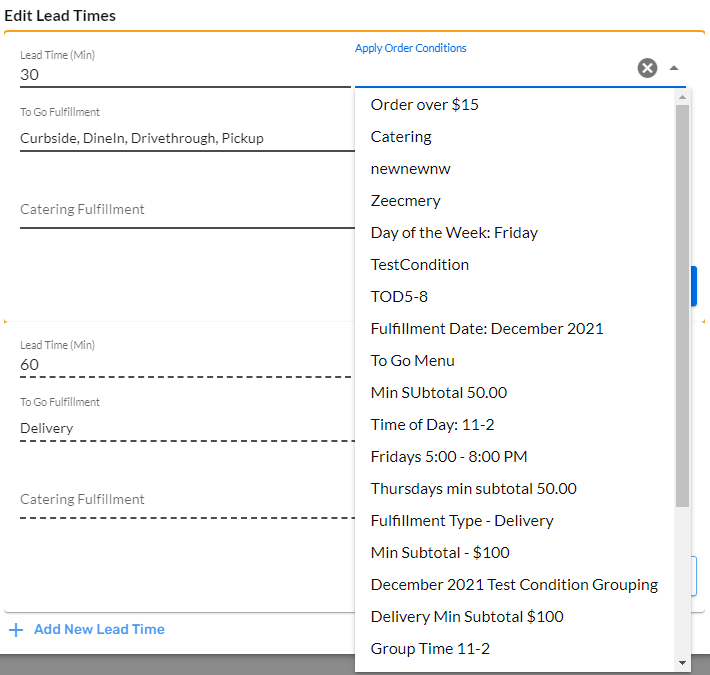
- Add any order conditions, if applicable. This is not required for a lead time, and allows customization to the day, times, subtotal, etc. for the lead time. Examples include: Fridays, Time of Day 5:00-8:00pm, or minimum subtotal $25.
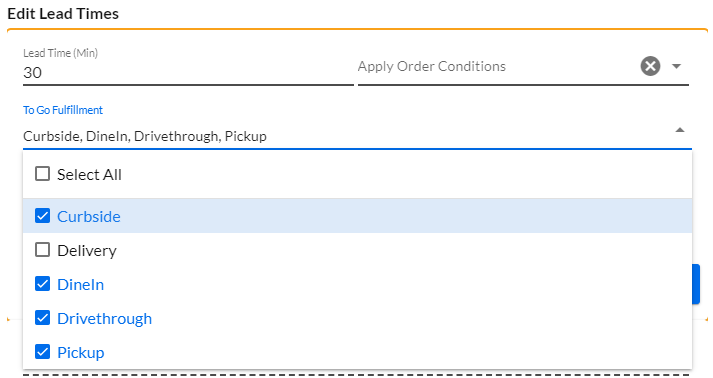
- To Go and/or Catering Fulfillment Types. Options are: Pickup, Curbside, Dine In, Delivery and Drivethrough.
- Save the lead time.
- If another lead time is required, click "+Add New Lead Time" to create another lead time for the configuration. Examples of having multiple lead times include pickup, delivery, as well as to go or catering menus.
- After all of the lead times are created for the configuration, click the Save & Close button.
- The lead time configuration is ready to be applied across restaurant(s).