Due to the customizable nature of the Onosys system, taxes can be applied in a variety of ways for a restaurant. This guide will help with what is needed to set taxes on a restaurant.
There are multiple steps to have a restaurant begin charging a tax:
- Tax buckets must be created for each taxation that is to be applied. (Go to this section)
- Tax settings must be set for the tax buckets at the restaurant level. (Go to this section)
- Tax buckets also have to be applied to menu elements and/or delivery fees. (Go to this section)
The combination of having tax bucket(s) created, having a taxes configured in restaurant(s) settings, and having that tax bucket applied on menu elements and/or delivery fees allow taxes to be applied accordingly.
Tax Buckets
In most cases, the commonly used tax buckets are already created. In the event that the correct tax bucket is not available at a restaurant, creating a new one is simple.
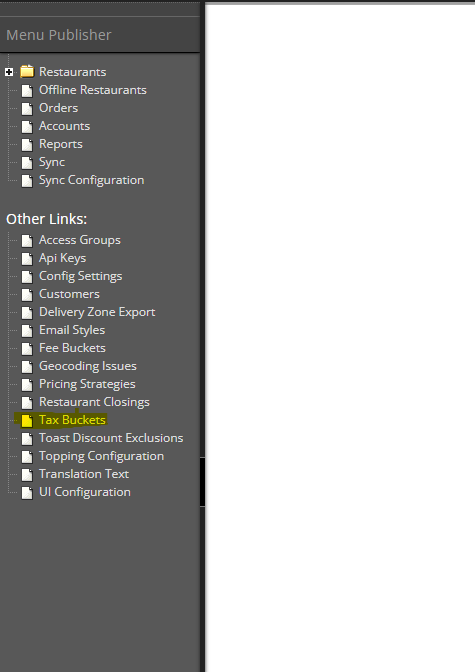
- In the left hand navigation, click on 'Tax Buckets'
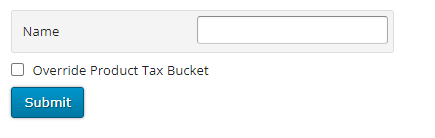
- Click the 'Add new Tax Bucket' button

- Input a name for your tax bucket and click 'Submit'
The tax bucket is created and is available under both restaurant taxation settings and on the taxable menu elements.
Restaurant Tax Settings
This is where the details are set for a restaurant's taxation. This includes any flat taxes, tax rounding, and the settings for the individual tax buckets that include tax rate, fulfillment types, etc.
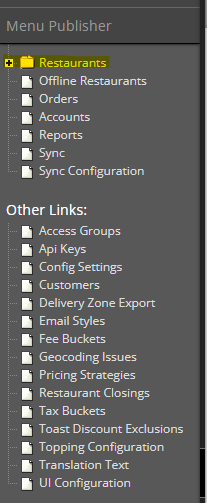
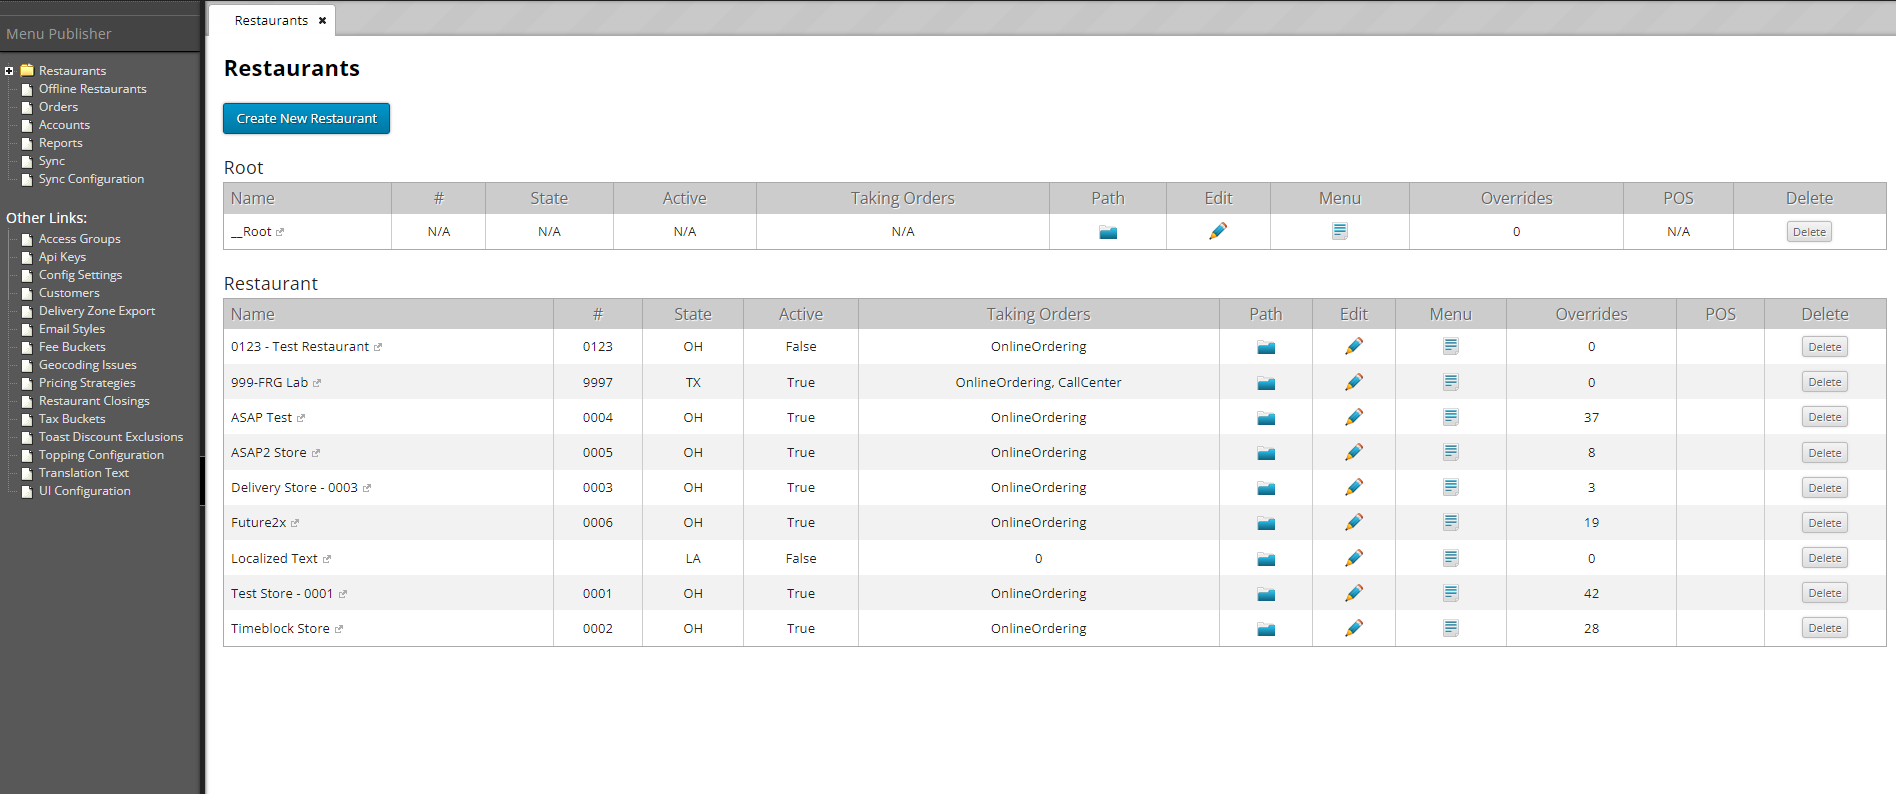
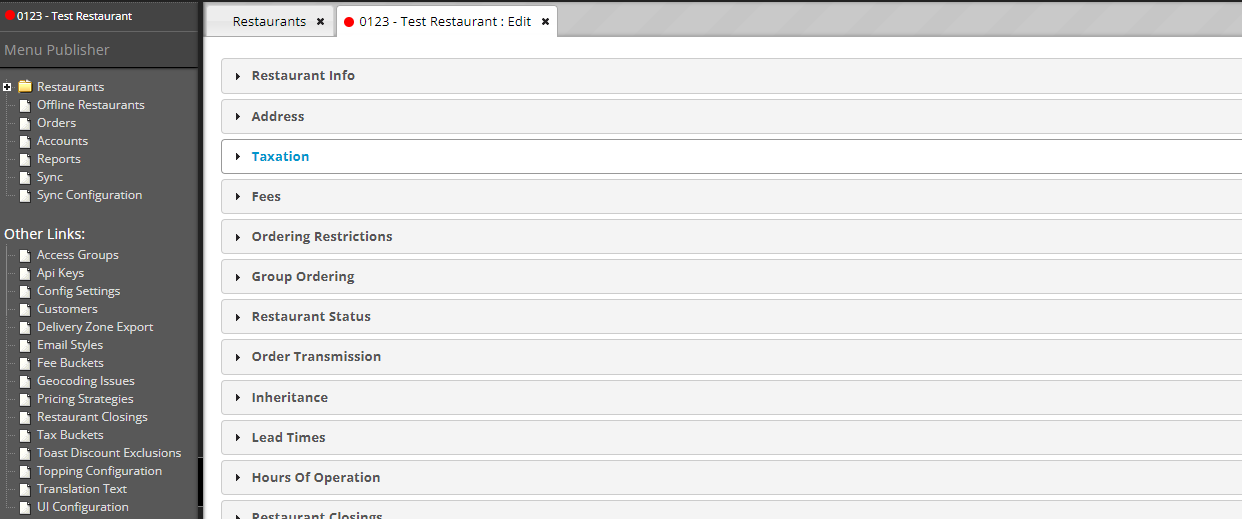
- Navigate to the restaurant's settings by clicking on 'Restaurants' in the left hand navigation.
- Select Your Restaurant from the list.
- Select the Taxation section.
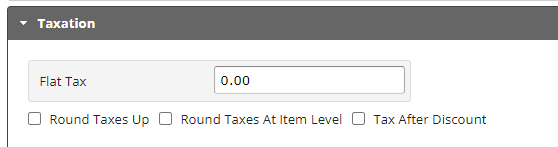
- Add any applicable flat tax and tax rounding settings.
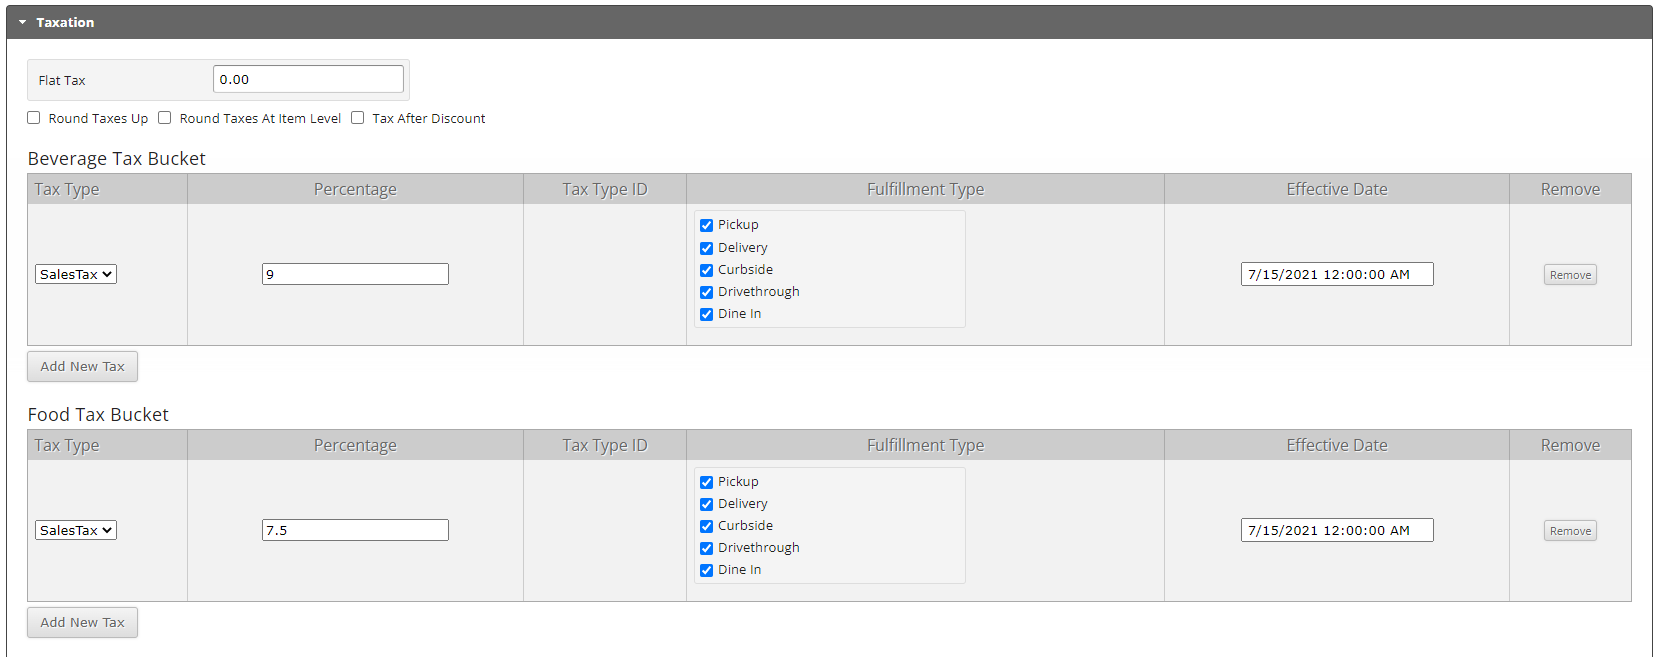
- Add taxes for the applicable tax buckets. If you do not see settings under a tax bucket, click the 'Add New Tax' button. At this restaurant, the Beverage Tax Bucket has a Sales Tax of 9%, and the Food Tax Bucket has a Sales Tax of 7.5%. The tax is applied on all fulfillment types for each, and both have a starting date of 7/15/2021.
- Click Submit at the bottom of the page and the taxation settings are saved for the restaurant.

This step is an important one to set the correct tax rates for a restaurant. It also does not mean tax rates are going to apply correctly. We have one more step in the process.
Setting a Tax Bucket on a Menu Element
Setting a tax bucket on a menu element applies the restaurant settings of the tax bucket to that menu element. The menu elements that are able to be taxed, and thus have a tax bucket option are: Products, Combos, Split Items, Option Items, and Toppings
- Navigate to the _Root menu, or the menu of a particular generic or restaurant by clicking the plus button next to the 'Restaurants' folder. This expands all available menus.
- Click the plus button next to the menu that you want to open. We are using the _Root menu.

- Click the plus button next to 'Menu' to open the menu section for that menu.
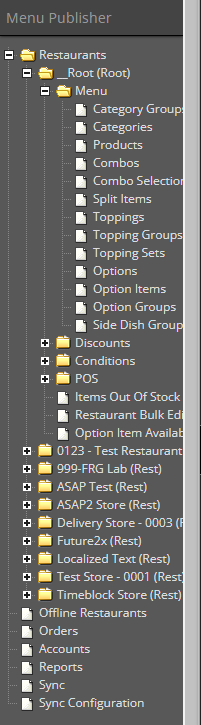
- Click the Menu Element that you want to apply the Tax Bucket. We are using Products.
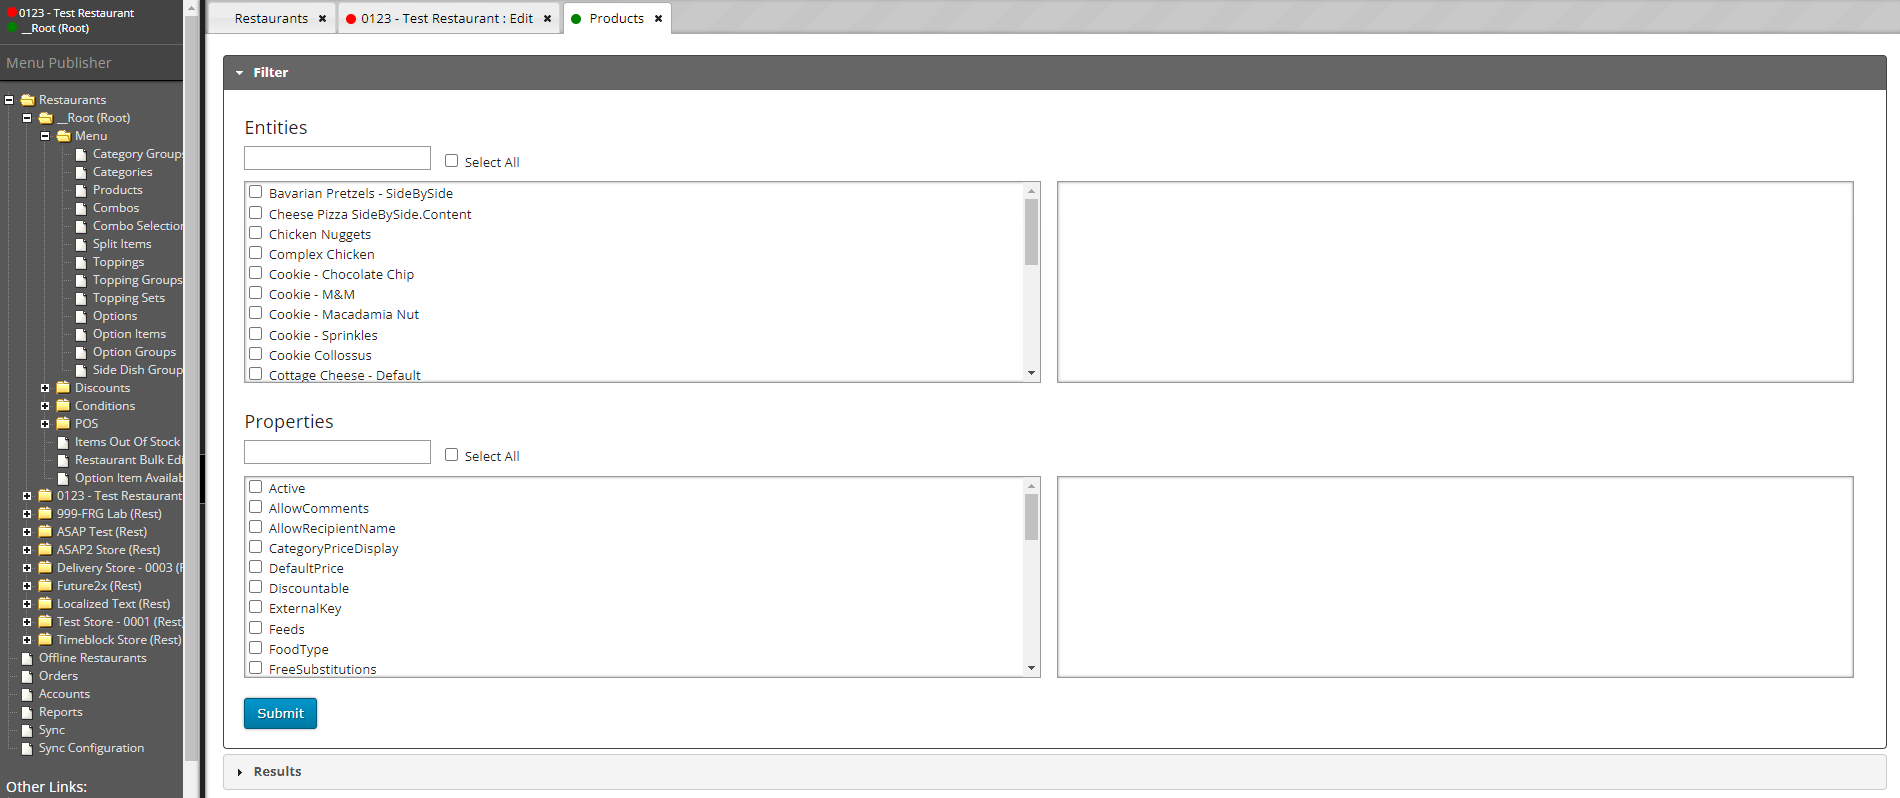
- In the Entities section search for the product(s) you want to add the Tax Bucket. We are applying this to pizzas, so have selected all pizzas.
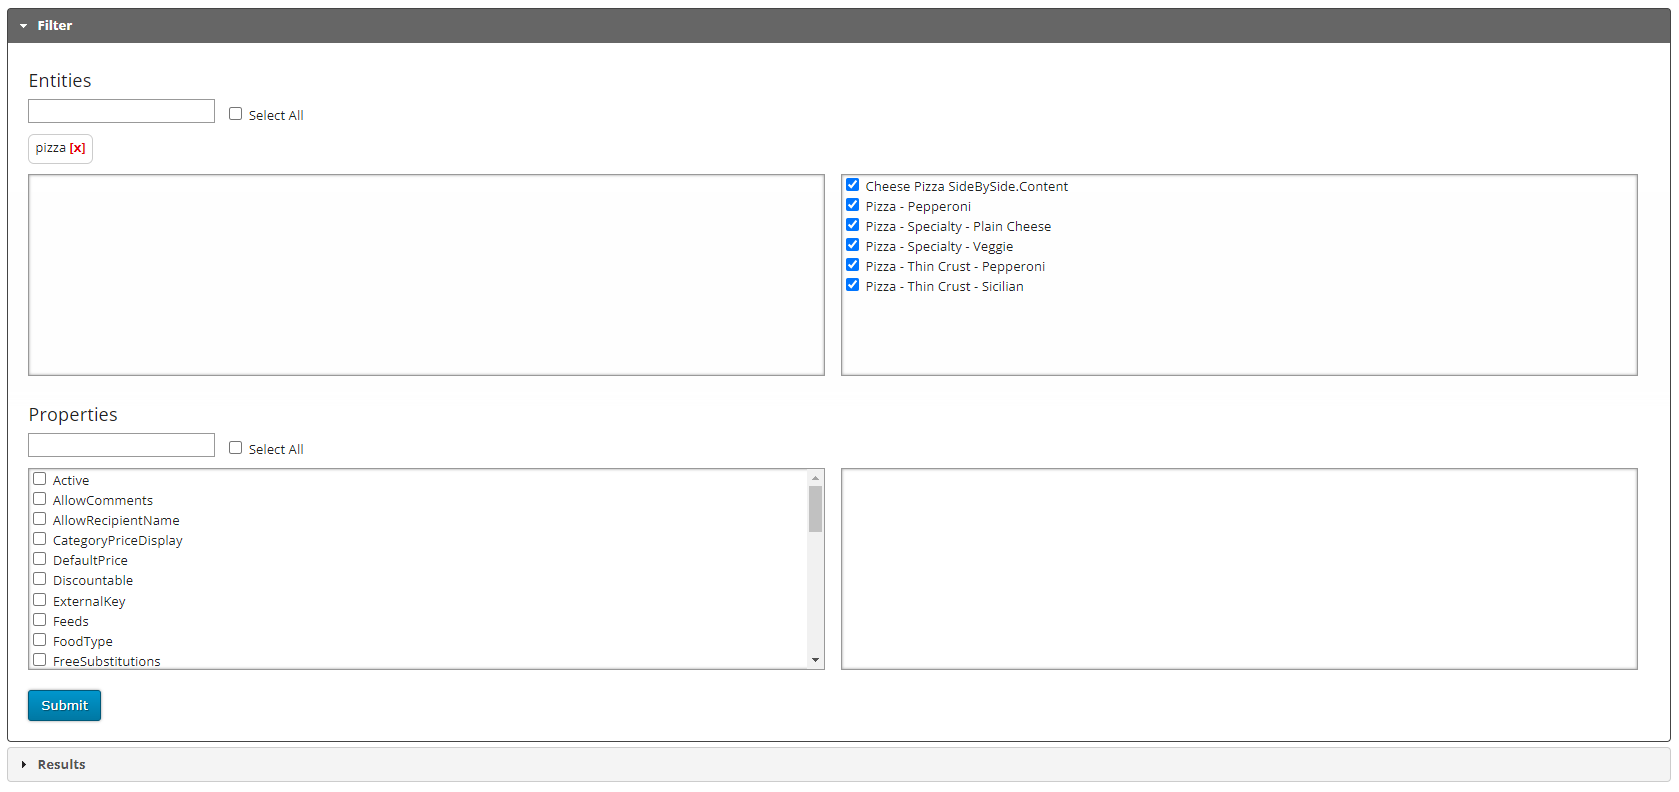
- Under Properties, select 'Active' and click the Submit button. The results will display, for us it looks like this:
- In the list above, click any of the pizzas to edit their settings. We clicked 'Pizza - Pepperoni.'
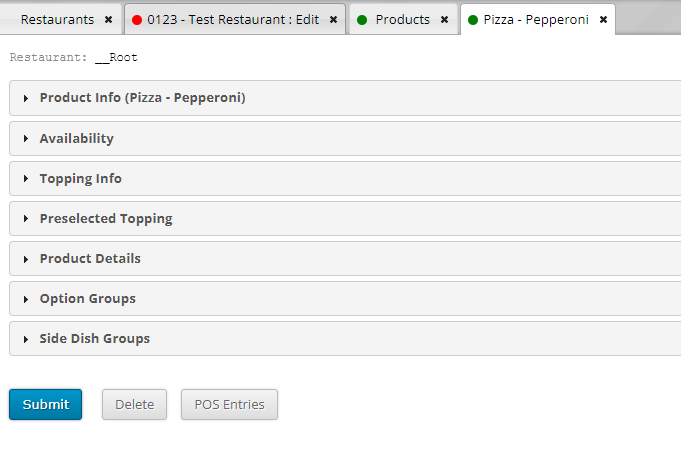
- Click the top setting area: 'Product Info.' This is going to have the basic product settings, including the Tax Buckets.
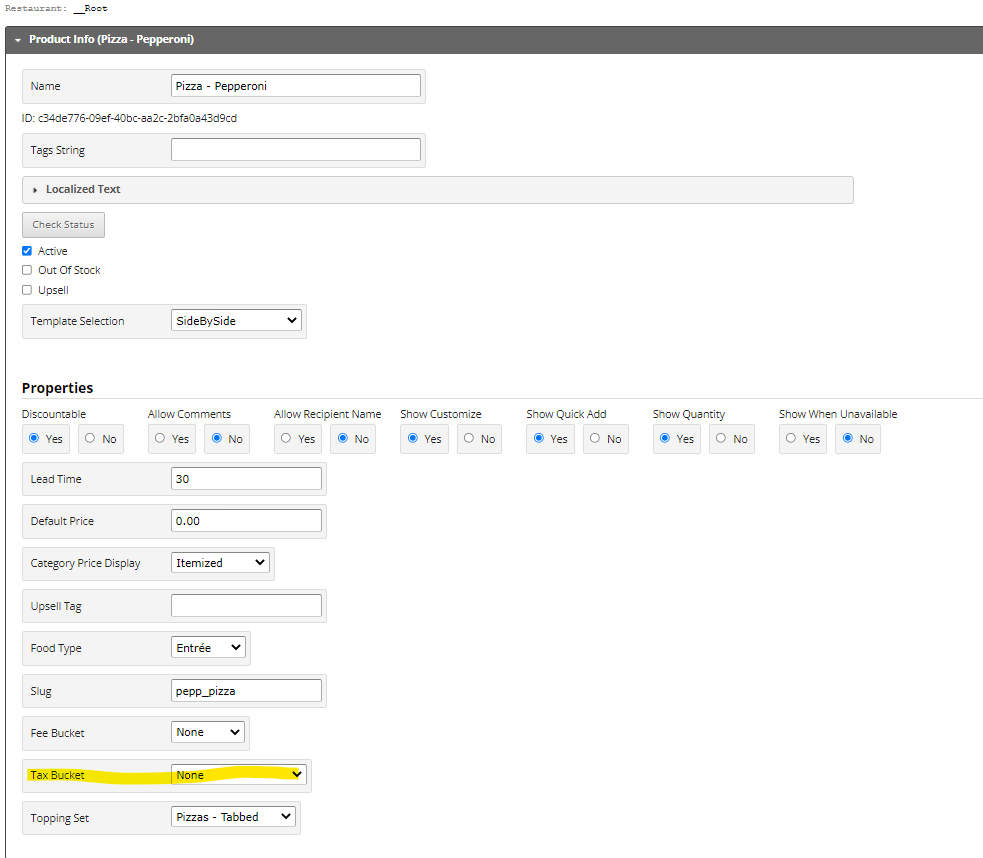
- As we can see in the above screenshot, no tax bucket has been applied. Click the drop down and select the applicable tax bucket (we want the 'Food Tax Bucket')

- Click Submit. Continue on all menu items that are to receive this taxation.

The Tax Bucket has now been applied to the menu element and after a menu publish, the restaurant tax settings that we applied will be charged.